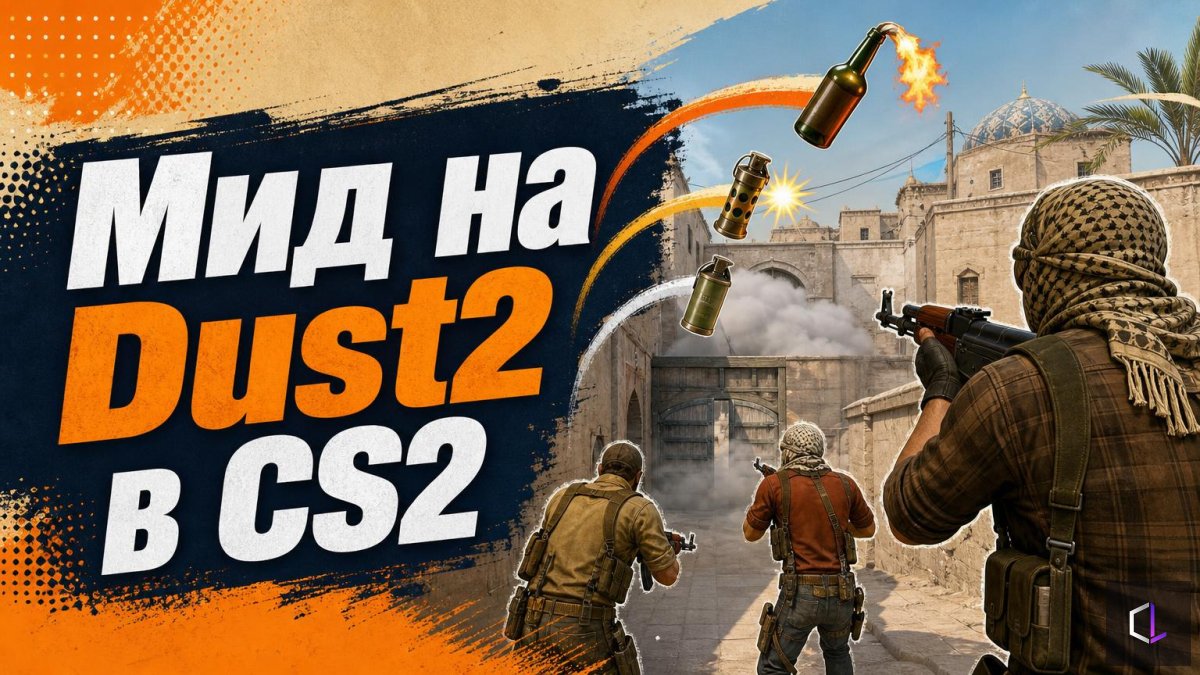
Mid on Dust2 is a place where the round is often decided before anyone reaches the plant. Whoever holds the contact in the center controls both rotations and the tempo of the whole map. And the contact is not just "standing by the door": behind it there is usually a player with an AWP or a rifle, and running in head-on ends with a quick loss of a player. That is why mid is burned out with grenades, not bullets.
Below is a setup that is often shown in breakdowns right now: two grenades on the contact, a flash on the player watching from afar, then a smoke to CT and a split to B. We lay it out step by step so you can practice it on a training map with bots.
Why Take It With Two Grenades
The mid contact is awkward because a defending player may not be standing in one spot. He sees part of the space from depth and changes angles between shots. One grenade covers one option; the second covers the neighboring one. That is why the setup uses a molotov (an incendiary grenade), which burns out the "uncomfortable" angles on the right and left: the fire does not let a player simply stand and wait, and forces him to take a step and reveal himself.
An important nuance: a molotov does not kill, it moves. Its job is to remove comfort, not to get a frag. So you should not throw it and immediately run in: the fire burns for a limited time, and walking into it for early shooting is a common mistake.
Order of Actions
1. Molotov to the left uncomfortable angle. The first grenade clears the side from which players usually peek at someone running up.
2. Molotov to the right angle. The second covers the mirror option. The pause between throws is short — the defending player must not have time to reposition to a "clean" spot.
3. Flash on the player watching from afar. This is exactly what you need to blind the one holding the far angle who did not get caught by the fire. Throw it so that the blindness lands at the moment the team goes out, not a second before.
4. Teammate goes out under the flash. While the target is blinded, the player takes the contact and gains control of the middle.
5. Smoke to CT. After mid is taken, the smoke blocks vision from the counter-terrorist zone — so the defense's rotation does not shoot you in the back.
6. Split to B. When mid is taken and vision is blocked, the team divides: part goes through the tunnels, part enters from the other side. This is exactly why the setup works well on Dust2 — a map that is often chosen in the pick phase.
Where the Setup Breaks Down
- Desync. If the flash flies before the molotovs, the defense sees the throw and simply backs off. Agree on a signal: one player calls the round timing, the others throw on the count.
- The same setup every round. If the defense has seen the setup twice, by the third time it is ready: it puts a player in the corner that is not burning. At least once per half, change the order or replace one throw with a smoke.
- Forgotten economy. Two molotovs, a flash, and a smoke are four grenades for the team. If some players do not have the money, it is better not to start the setup: an incomplete set is worse than an honest default.
- Walking into fire. A molotov burns for seconds, and impatience costs health. Wait until the flames die down and the flash does its job.
How to Practice in Training
Load a training map and learn each position separately: the throw point, the aim marker, and the type of throw (with a jump or without). Then put the whole sequence together and run it at least ten times in a row, until the timing becomes identical. Then add bots on defense and check at which stage the setup fails. If the molotov regularly misses because of the difference in the throw's "ping," adjust the aim point, not the throw strength.
Strong teams win not by the number of grenades, but by throwing them in the same second and knowing why. The Dust2 setup is a good way to catch that feeling: it is simple, repeatable, and immediately shows who on the team is late.