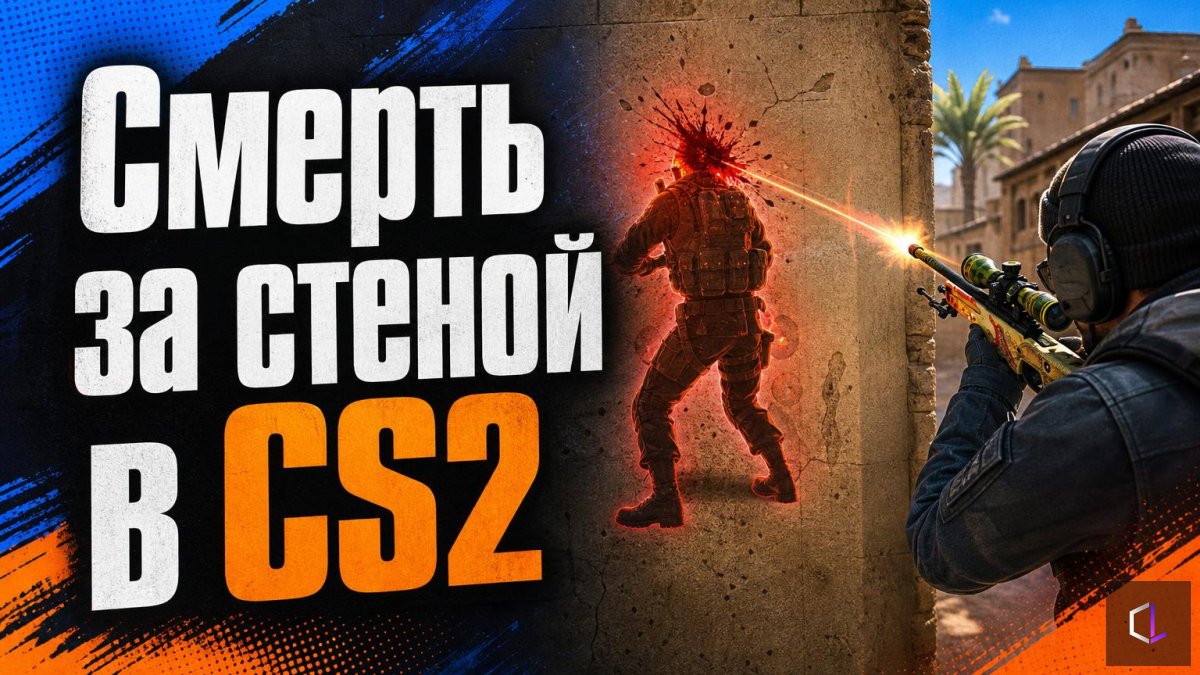
A video is circulating in CS2 communities that subscribers have called "all of Counter-Strike 2 in one video." A player peeks a corner, shows himself, calmly retreats behind a wall, and still goes down to an AWP shot. The author attached a recording from the opponent's side as well: the same moment, only from a different screen. It looks like a bug, but it is a consequence of how any online game works. Everyone who has played against an AWP has seen the "but I already hid" scene.
What the Screen Shows and What the Server Knows
Your computer displays your actions instantly: you press a button and your character has already taken a step. But the server decides everything, and your commands reach it with a delay equal to your ping. The positions of your opponents also reach you late, and the client fills in the picture between packets.
That is why the moment you visually disappear behind a wall may happen later on the server. It is still receiving your last commands and processing the opponent's shot fired while you were in the line of sight. The AWP kills with a single hit, and that "late arrival" is enough for a frag.
CS2 uses subtick: a player's actions are recorded with a timestamp between server ticks rather than rounded to the nearest one. The order of events has become more accurate, but it does not cancel out ping. The distance to the server and the quality of the connection still shift the picture for both players.
Who Has the Advantage at the Corner
A duel at a corner is almost always asymmetric. The player who is moving appears on the server before the one holding the angle can see him on his own screen. This is called peeker's advantage. It has two consequences for the AWP:
- holding a narrow passage with an AWP against a sharp, wide peek is risky: the opponent needs only a fraction of a second;
- peeking with an AWP and immediately retreating to a "safe" spot does not insure you: the shot at you may have happened while you were walking back.
Rules for AWP Lines
1. Don't count on "I hid, so I'm alive." If the operator could see you in the line of sight, consider the shot as having happened. The decision to "show yourself and leave at once" is justified only with support: a flash, a smoke, or a teammate who distracts the AWPer.
2. Peek sharply and only once. A wide peek in one motion works better than jiggling at the corner: the longer you stand in the line of sight, the more chances the opponent has to catch you in the crosshair.
3. Hold the angle with some margin when you have the AWP. Step back a pace from the corner itself so that the peeker exposes himself to you later and finds it harder to use his head start.
4. Don't repeat the peek after a shot. If you didn't kill on the first try, don't show yourself in the same place: you are already expected there.
5. Watch your ping. Everyone's ping is visible on the scoreboard. If the difference between you and your opponent is tens of milliseconds, expect duels to feel "unfair": on the better connection it pays to peek, on the worse one it pays to play defensively and with utility.
How to Test It in Practice
A couple of people and a practice map are enough. One holds the AWP on a short passage, the other peeks him with a wide peek and tries to hide after the first showing. After twenty attempts, the scoreboard shows how many times the "hider" still dies. Then you swap roles, and the score lets you compare how a peek with a flash works against a peek without one.
The result most often comes as a surprise: a "safe" retreat saves you less often than it seems. But you can see where timing really helps and where it is just habit. A player who knows what an extra second in an AWP line costs stops blaming lag where he simply needed to play differently.